The Primo factory installed wool gasket is a wearable item- it will inevitably need to be replaced. So… what do you replace it with? You have options- you can buy the Primo original replacement gaskets or opt for one of several aftermarket offerings. We have looked at all the options and the one that stands above the rest is the High-Que Nomex High Heat Gasket. Made in the USA, these peel and stick gaskets are easy to install and do not contain fiberglass. We do stock these in our Easton showroom- if not local click here to purchase! Here is a video from the manufacturer showing the installation process. Below the video are tips for a successful install!
Although it is rare, there are a few common issues that can lead to premature gasket failure, so I’d like to outline those for you to insure the best possible performance of the replacement gasket applied.
1) Cleaning and installation.
During the cleaning process, the grill rim is clean enough when a rag soaked in acetone and wiped with some force on the grill comes back clean.
During installation, it is important not to stretch the gasket. There will be a small amount of shrinkage at very high temperatures that can cause the felt to separate from the adhesive and these tips will help to minimize it.
We recommend two particular procedures while installing the gasket and these are detailed below: installation about 1mm-1/16″ out from the inside rim edge and the compression of the gasket during the peel and stick procedure.
During installation, you should compress the gasket as you apply it while working around the outside diameter of your grill rim. When done properly, this will result in a slight wrinkling/bunching of the material along the inside edge of the rim. Work the material around the grill–bunching it up onto itself a little bit while pulling the adhesive liner out from underneath. You should be able to bunch the gasket several percent. The wrinkles left behind will disappear after the first few cooks.
Shrinkage causes the gasket to creep toward the inside of the rim, so our second pro tip is to install the gasket about 1mm to 1/16″ of an inch away from the inside rim. The small amount of creepage that may be seen will use up this additional space and the gasket will not protrude inside the grill.
Do not cook very hot (400+) on the first cook after installation. This will reduce the shock to the gasket installation and allow it to adjust gradually and prevent a sudden onset problem.
**Poorly adjusted hinges can commonly cause failure at the back of the grill near the hinge if the grill closes too early and tends to peel the hinge off, or hot gases escaping from the grill can damage a gasket where these gasses escape.
2) Proper hinge adjustment.
Improper hinge adjustment can cause super-heated air to escape from between the rims of the grill which can lead to a failure emanating from the point of air escape. This is a common issue during gasket replacement because new gasket material is usually much thicker than the material being replaced and the bands and hinges on a grill tend to sag over time as the original gasket thins out.
To get long lasting results from all gasket including ours, it is important that your grill hinges and bands are properly aligned so that the grill does not close too early in the back (adding stress to the gasket and tending to peel it off) and that there are no gaps in the lid to grill opening through which all the hot air in the grill will be forced. To check that the lid closes properly, we recommend “the dollar bill test” which is a well known ceramic grill test for proper grill adjustment and an easy search term for many tips on the subject. When the grill lid is closed on a dollar bill in the 12-o’clock, 3-o’clock, 6-o’clock and 9-o’clock positions, there should be an even amount of pressure all around that you will feel in the tension holding the dollar bill from being pulled out from each of these positions. Your lid is set properly when there is equal tension in pulling the bill out from positions all the way around the grill.
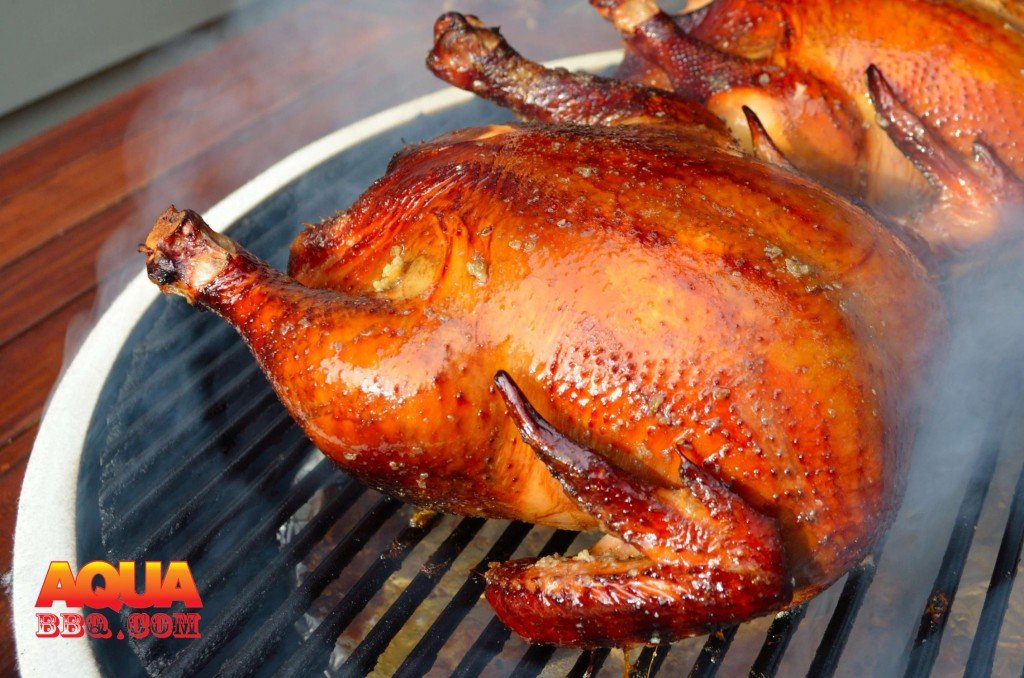
Smoked Chicken on a Primo with a freshly installed High Que Nomex High Heat Gasket.
What is the proper way to adjust with dollar bill test. Loosen bands and let lid settle and relighted?
Thanks Bob
Bob,
You got it- a well aligned lid is key- adjust by loosening the bands as needed
Do you think we could use the Kamado Joe Mesh gasket on our Primo XL?
I don’t have experience with that product on the Primo- I would assume it would be ok as long as it isn’t too thick for the lid to close properly